Deploy a Spring Boot application to Microsoft Azure using Github Actions


Table of contents
In my previous blog post, we introduced ourselves to cloud computing. If you've not read that yet then its the right time to learn about cloud.
https://hashnode.com/post/cltch9m9d00020ajsbl920kxk. Now, let us go one step ahead and deploy a Spring Boot application into Azure cloud.
Create an Azure account
- Head over to Microsoft Azure portal. The first step is to create an account in Microsoft Azure and you would be able to see the below screen

Click on Resource groups as in the below image
Resource group - It is a container that holds the resources for any Azure solution and is a prerequisite for creating anything on Azure.

Click on create and provide a resource-group and then it would be created.
Now, click on App Services -> Create -> Web App
Provide the web app name, java version (17/21), operating system (Windows/Linux), region (US/India) etc.
Then click on "Review+Create" at the bottom.
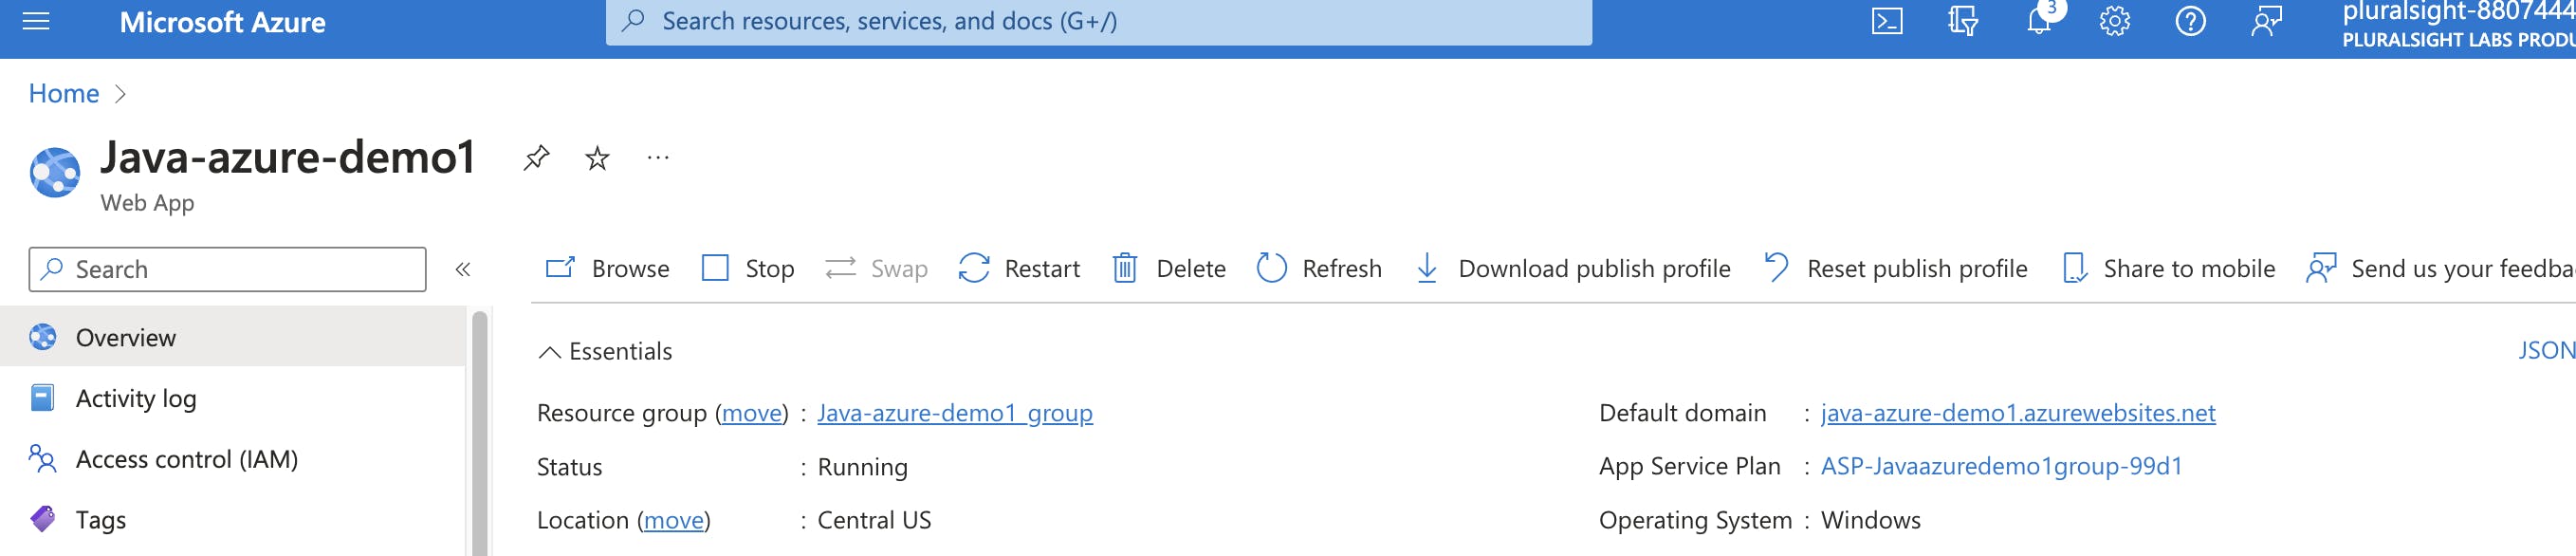
This is how the newly created app service would look like
Create a Spring Boot application with help of start.spring.io
Then create a rest controller like below
@SpringBootApplication
@RestController
public class SpringAzureApplication {

    @GetMapping("/message")
    public String message(){
        return "Azure deployment is working";
    }

    public static void main(String[] args) {
        SpringApplication.run(SpringAzureApplication.class, args);
    }

}
- Execute the below git commands and push local code to github branch
git remote add origin <repository_url> (repository url indicates the newly created github repository)

git add .  (to add all the changes done in local)

git commit -m "First commit"    (does the commit with a message)

git push -u origin master     (push all the changes to github repository)
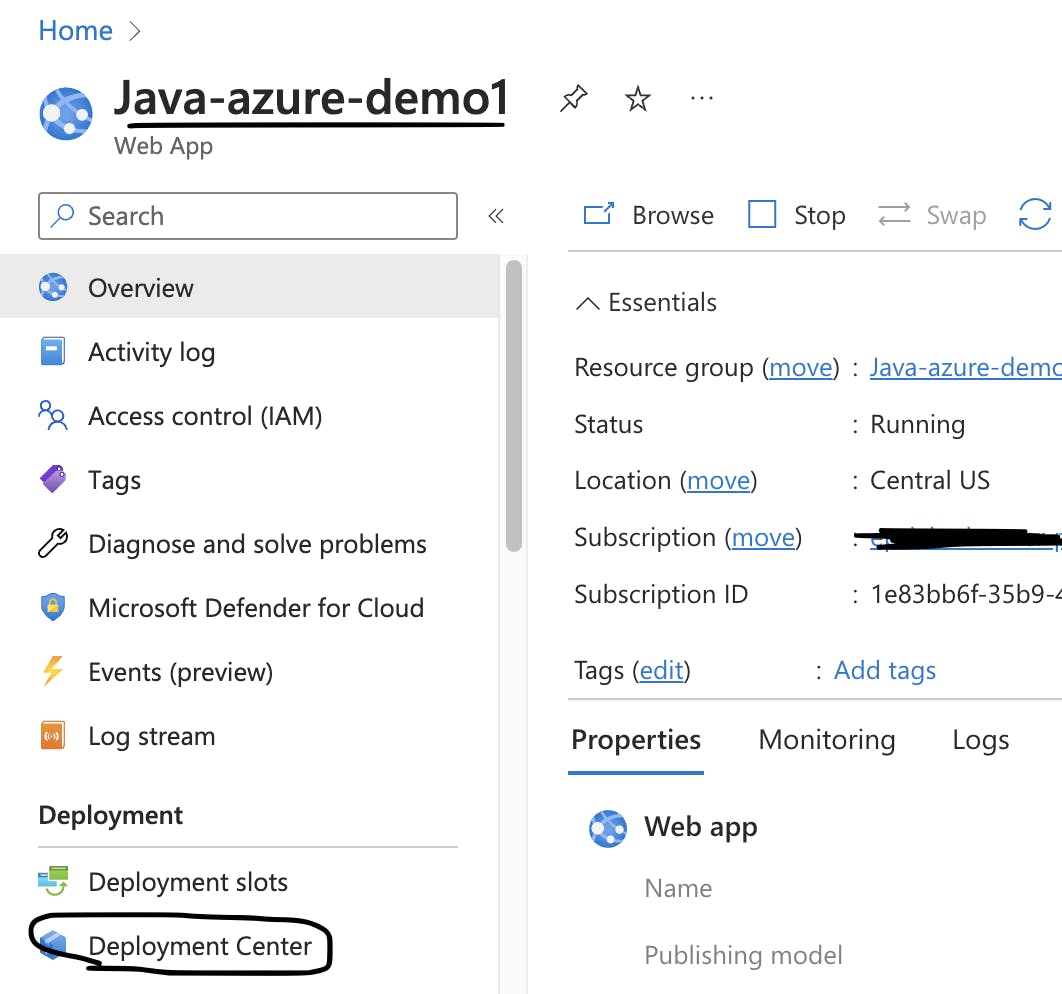
Click on Deployment centre
In the source dropdown, select Github and Authorise which would ask for the username and password.
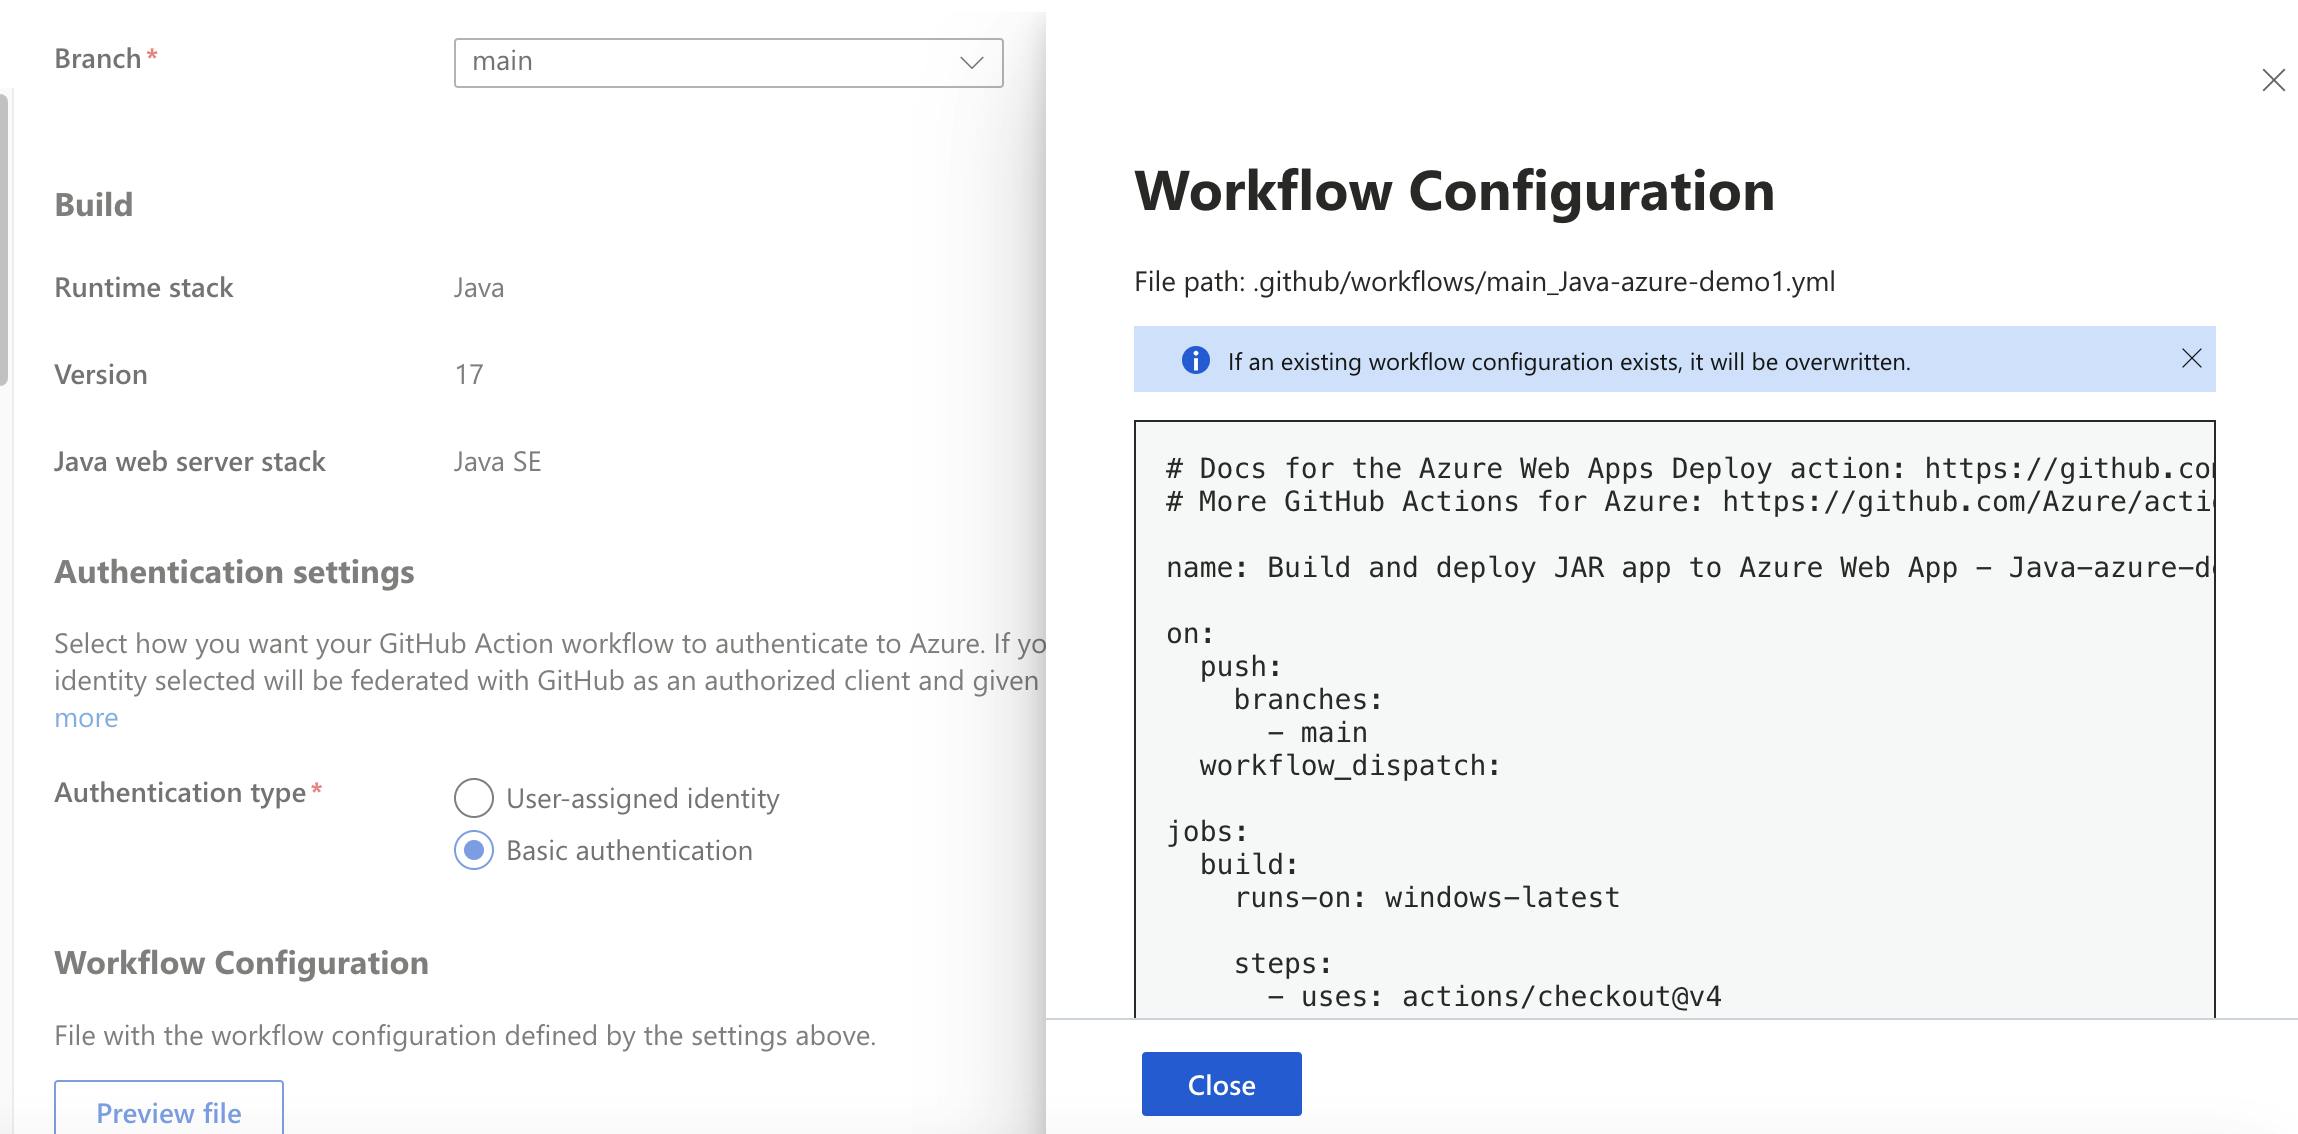
After that, select the organization, repository, branch as well in the dropdown.
You can click on the "Preview file" to see what steps would be performed as part of the build and deploy process
Click on save
The build will start & complete after which the deployment will be start before succeeding.
Users can test the application with the help of URL (will be present in Github Actions tab) which would look something like spring-azure-demo.azurewebsites.net and need to append "message" at the end because that was defined in the RestController.
- Upon successful hit of the URL, should get a message like "Azure deployment is working" which was given in the GetMapping method.